Atualizado em
After registering the standard and the types of responses that will be used, we can register the audit that will be performed.
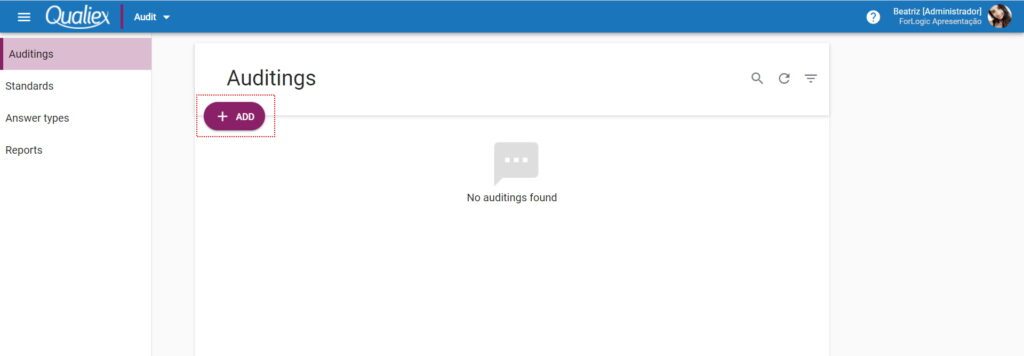
On the Audits tab, click  .
.
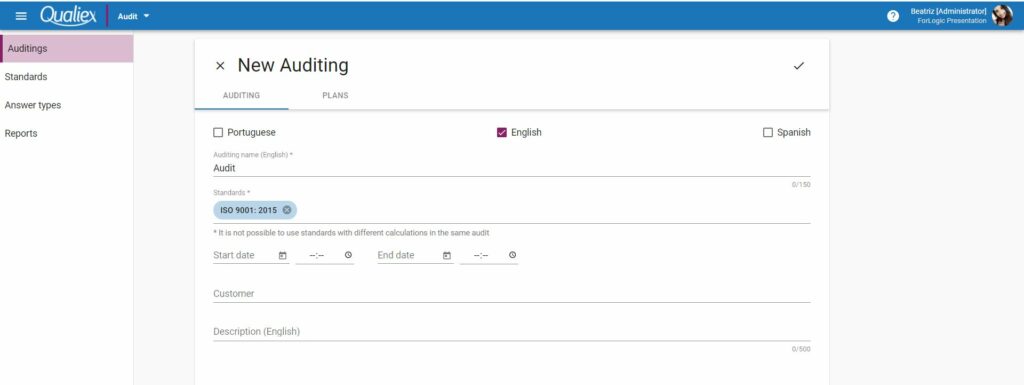
In the AUDIT tab, inform the data of the audit that will be registered
- Language: Select the language in which the audit will be performed. Remembering that the standard and response types must be registered in the same languages. The fields to be filled in are displayed according to the selected languages.
- Audit name: Enter the name of the audit.
- Standards: Select the standard that will be used in the audit, it is allowed to select more than one standard that uses the same form of calculation.
- Start date and time: Inform the start date and time of the audit.
- End date and time: Enter the end date and time for the audit.
It is not necessary to inform the date and time of the audit, it is automatically filled in according to the registered plans.
- Customer: Select the customer. Find out how to register a customer by accessing the link.
- Description: If necessary, insert any notes about the audit. Inform the scope of the audit, for example.
Fields with * are mandatory.
Planning
- After entering the audit data, click on the PLANNING tab.
- To add a schedule, click + ADD.

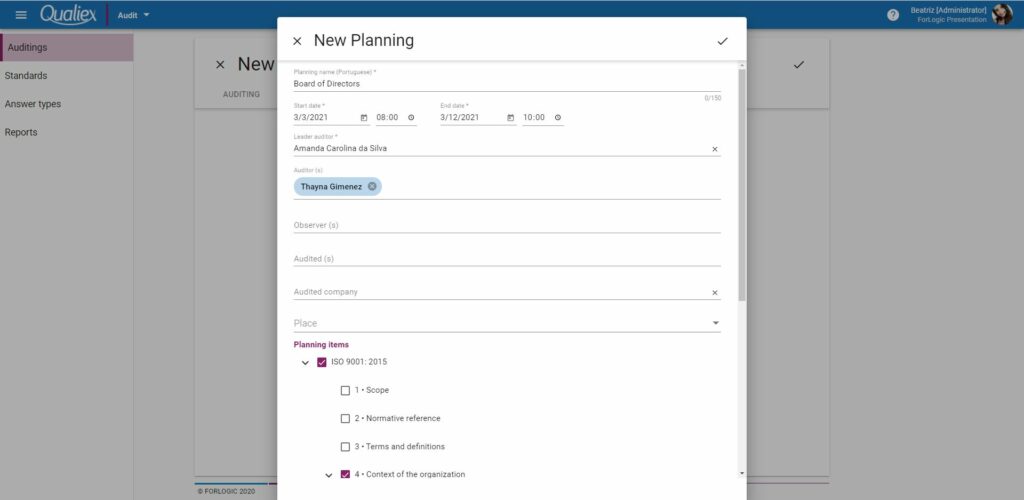
The screen for registering a schedule will be displayed.
- Schedule name: Enter the schedule name according to the selected languages.
- Start date and time: Enter or select
 the planning start date from the calendar . The time is not mandatory.
 - End date and time: Enter or select the end date of the schedule from the calendar . The time is not mandatory.
If the audit has a defined period, the plans must respect the deadline assigned in the audit.
- Participants: Inform the participants (who will be audited), select from the list of users who are registered on Qualiex.
- Lead auditor: Select the lead audit auditor.
- Auditors: If you have an accompanying auditor, select from the list or type the name and press enter.
- Audited company: Select the company to be audited, used for third party audits.
- Location: Enter the location to be audited.
- Planning items: Select the items to be audited. Click on to expand the items and sub-items.
Click ![]() to save the schedule.
to save the schedule.
Add as many schedules as needed.
After saving the schedule, click ![]() to save the audit.
to save the audit.
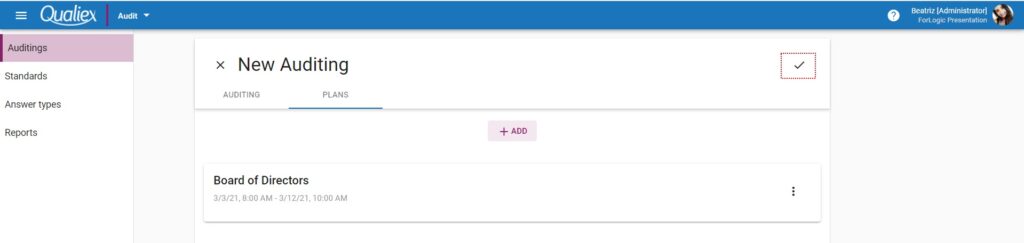
When recording, confirm that the planning can be completed. If all plans have already been registered, click on Finish planning to finalize the planning and the audit status will be Planned and can be performed. If there are plans to be registered click on Just Save and the audit will have the status of In planning.
